

The Photo Frosh Photo Challenge is a newbie’s attempt to complete all thirty of these prompts while (hopefully) learning something in the process.
Silhouettes are traditionally captured in the early morning or early evening, around sunrise and sunset respectively, when the sun is at just the right angle to backlight your subject.
I didn’t really want to wait until sunset (and there’s no way I’m going to be awake for sunrise). So the first thing I had to consider for the silhouette challenge was: How will I shoot a silhouette without the sun?
The obvious answer is some off-camera flash trickery. Being the Photo Frosh, I wanted to make this process as simple as possible, meaning I only wanted to use one flash.
The first challenge was figuring out how to eliminate the ambient light. Speedlights are powerful in a lot of ways, but when it comes to completely overpowering ambient light in the middle of the day, that will test a flash’s limits, even a flash as powerful as the LumoPro LP180 Quad-Sync Manual Flash.
The trick was to find a camera that could have a fast enough sync speed to stop down all the ambient light while still allowing the flash to expose the photo the way I wanted. Given the Fuji X100S‘ 1/4000s sync speed (and its general awesomeness), choosing the right camera was a no-brainer. The sync speed would be fast enough to eliminate the ambient light while also allowing the flash to work properly.
The rest of the setup was incredibly simple: I mounted the LP180 on an LumoPro LP605 Compact 7.5ft Light Stand (via the LP180‘s super-convenient 1/4-20 mounting thread) and synced it with the Fuji X100S with a universal hot shoe translator with a 16′ miniphone-to-miniphone cord. Here was our lighting setup:

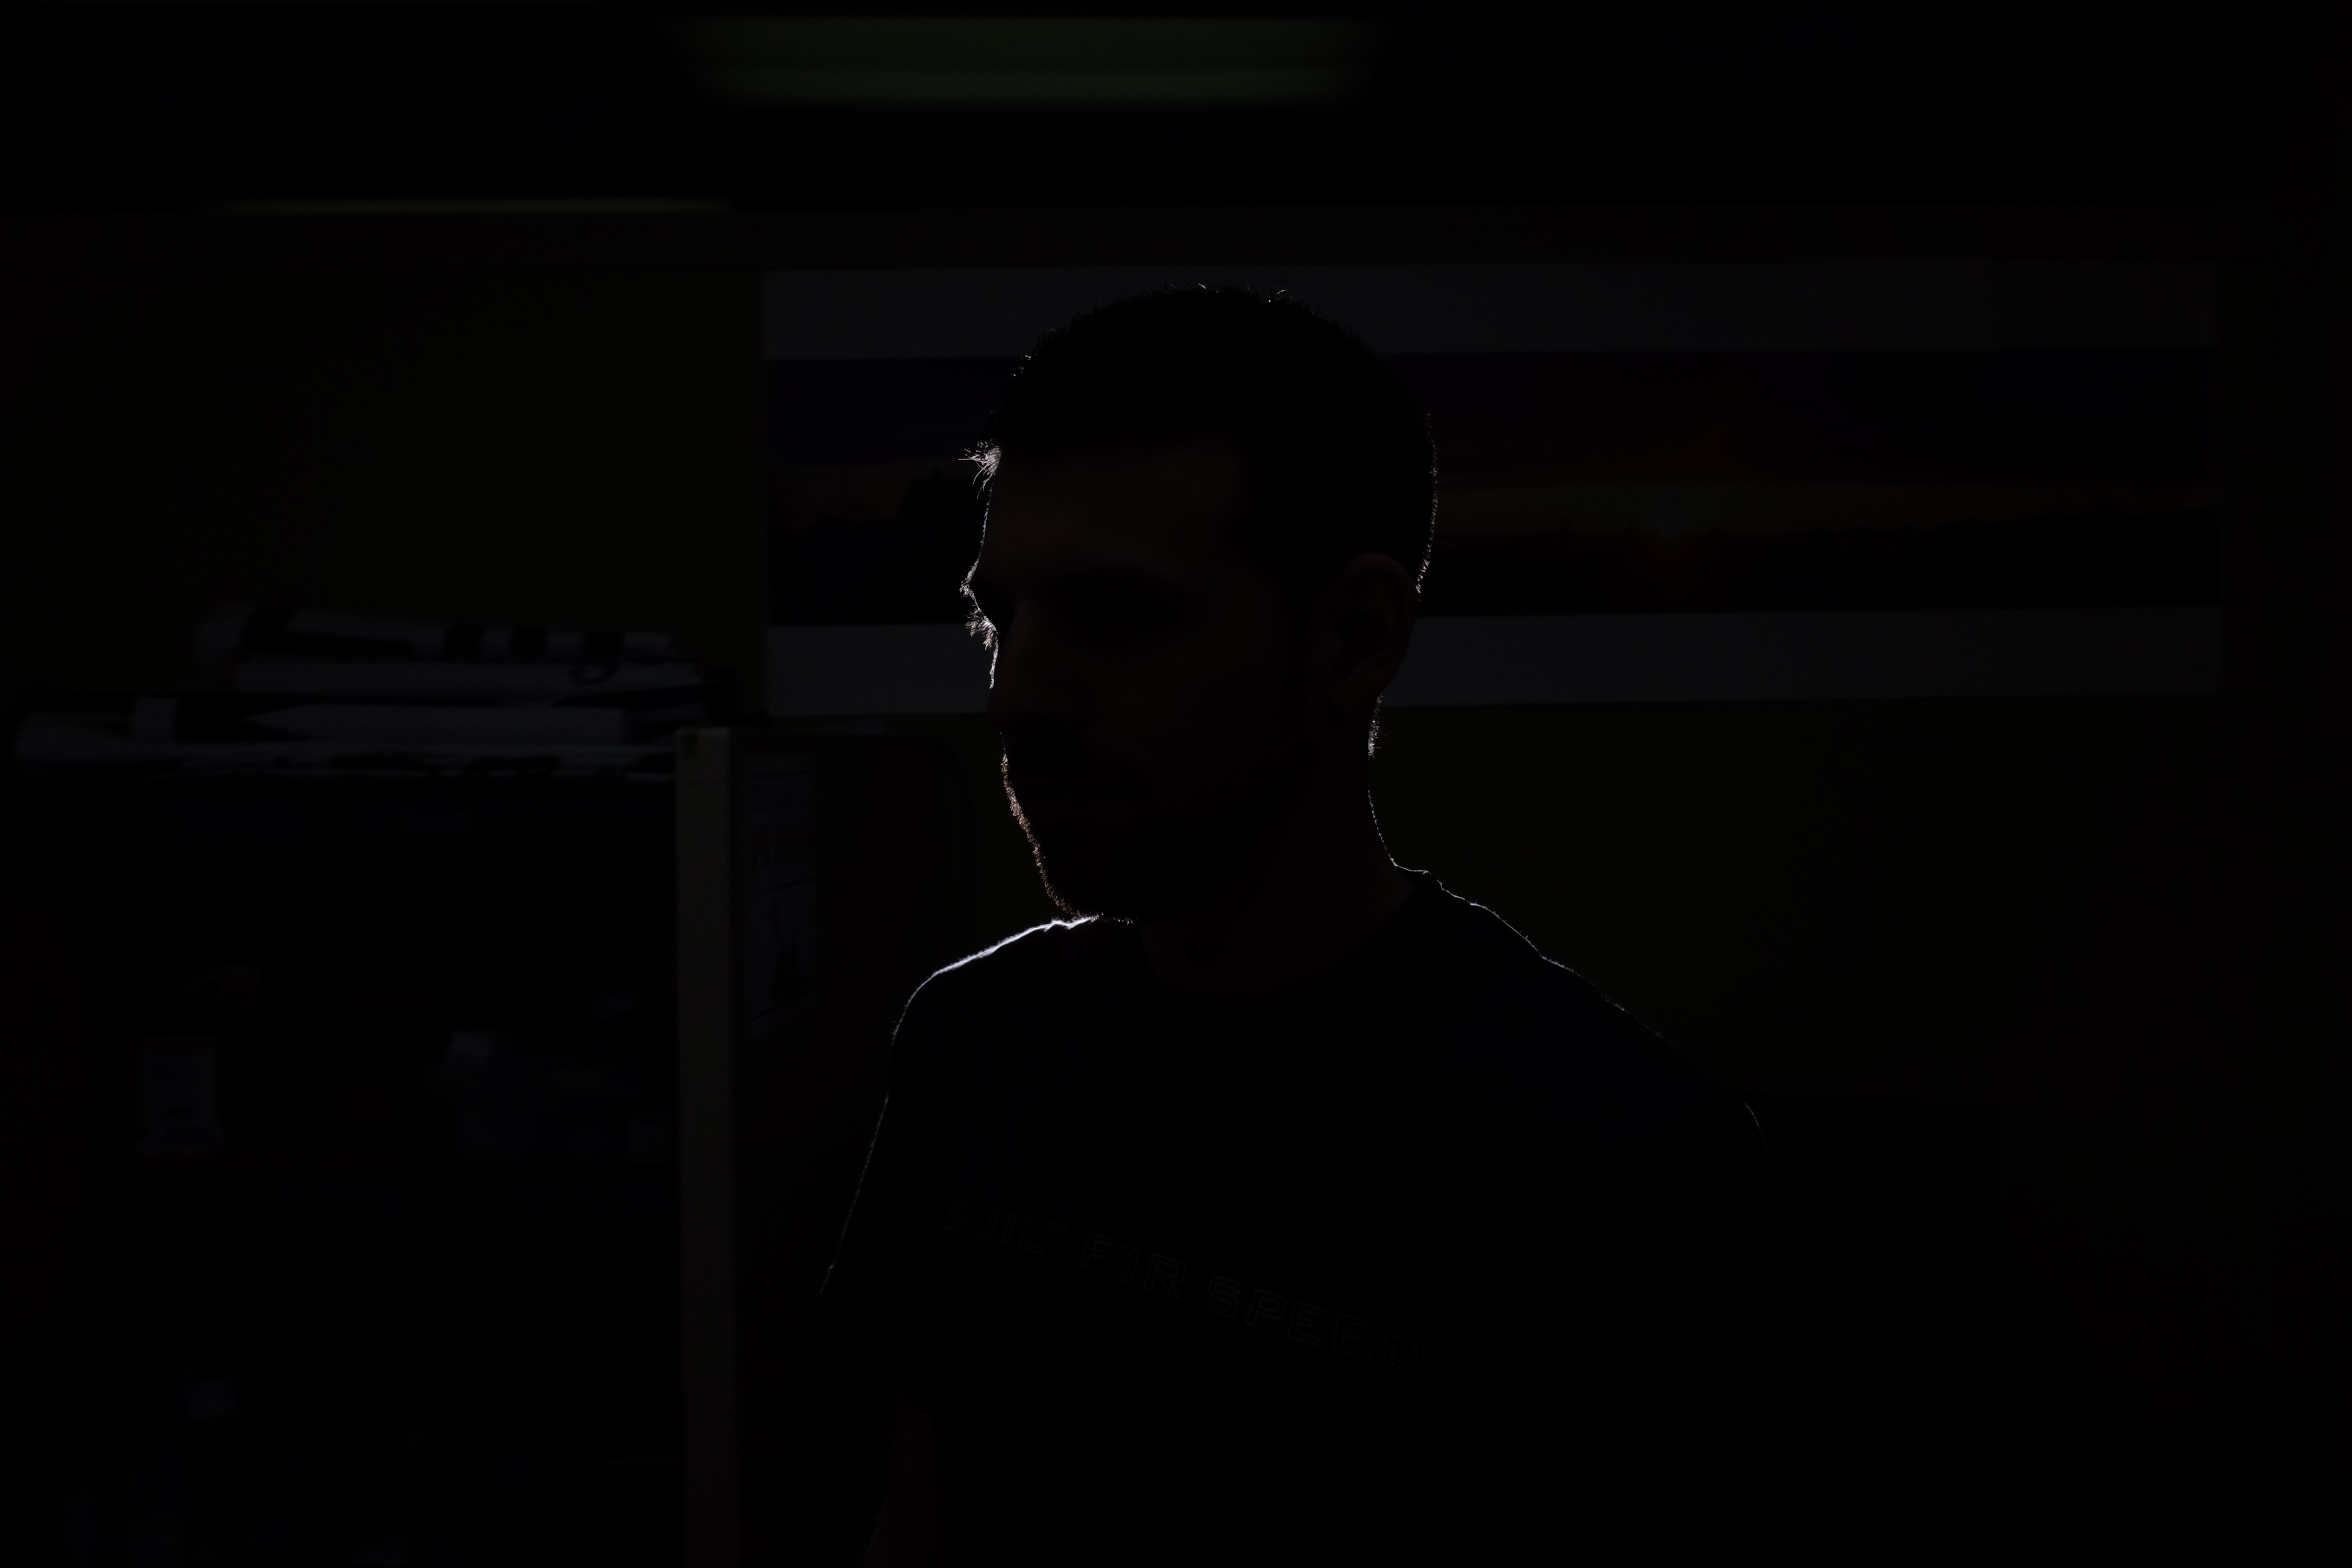
The original image out of camera was pretty close to what I had in mind: a silhouette defined by a slight rim light in complete darkness. But there was still some ambient light in there that was lessening the effect that I wanted:
So I actually did some editing in Photoshop. This time around, I was shooting in RAW, so I had a ton of options when it came to the edits I could make.
Before opening the image in Photoshop, I darkened the blacks and the shadows and amped up the whites and the highlights. I left the exposure and pretty much everything else at 0.

Most of the work I did was in the curves menu.

I started by bringing the curves down . . .

I then inverted the curve levels by clicking on the adjustment layer and pressing CTRL+I. You’ll notice that the preview box is now entirely black.

After that, I took the brush tool, set my brush color to white, and then outlined my subject. You can see this in the preview box.

Finally, I brought the curve layer as far into the black as I could, darkening out the rest of the background and ambient light.

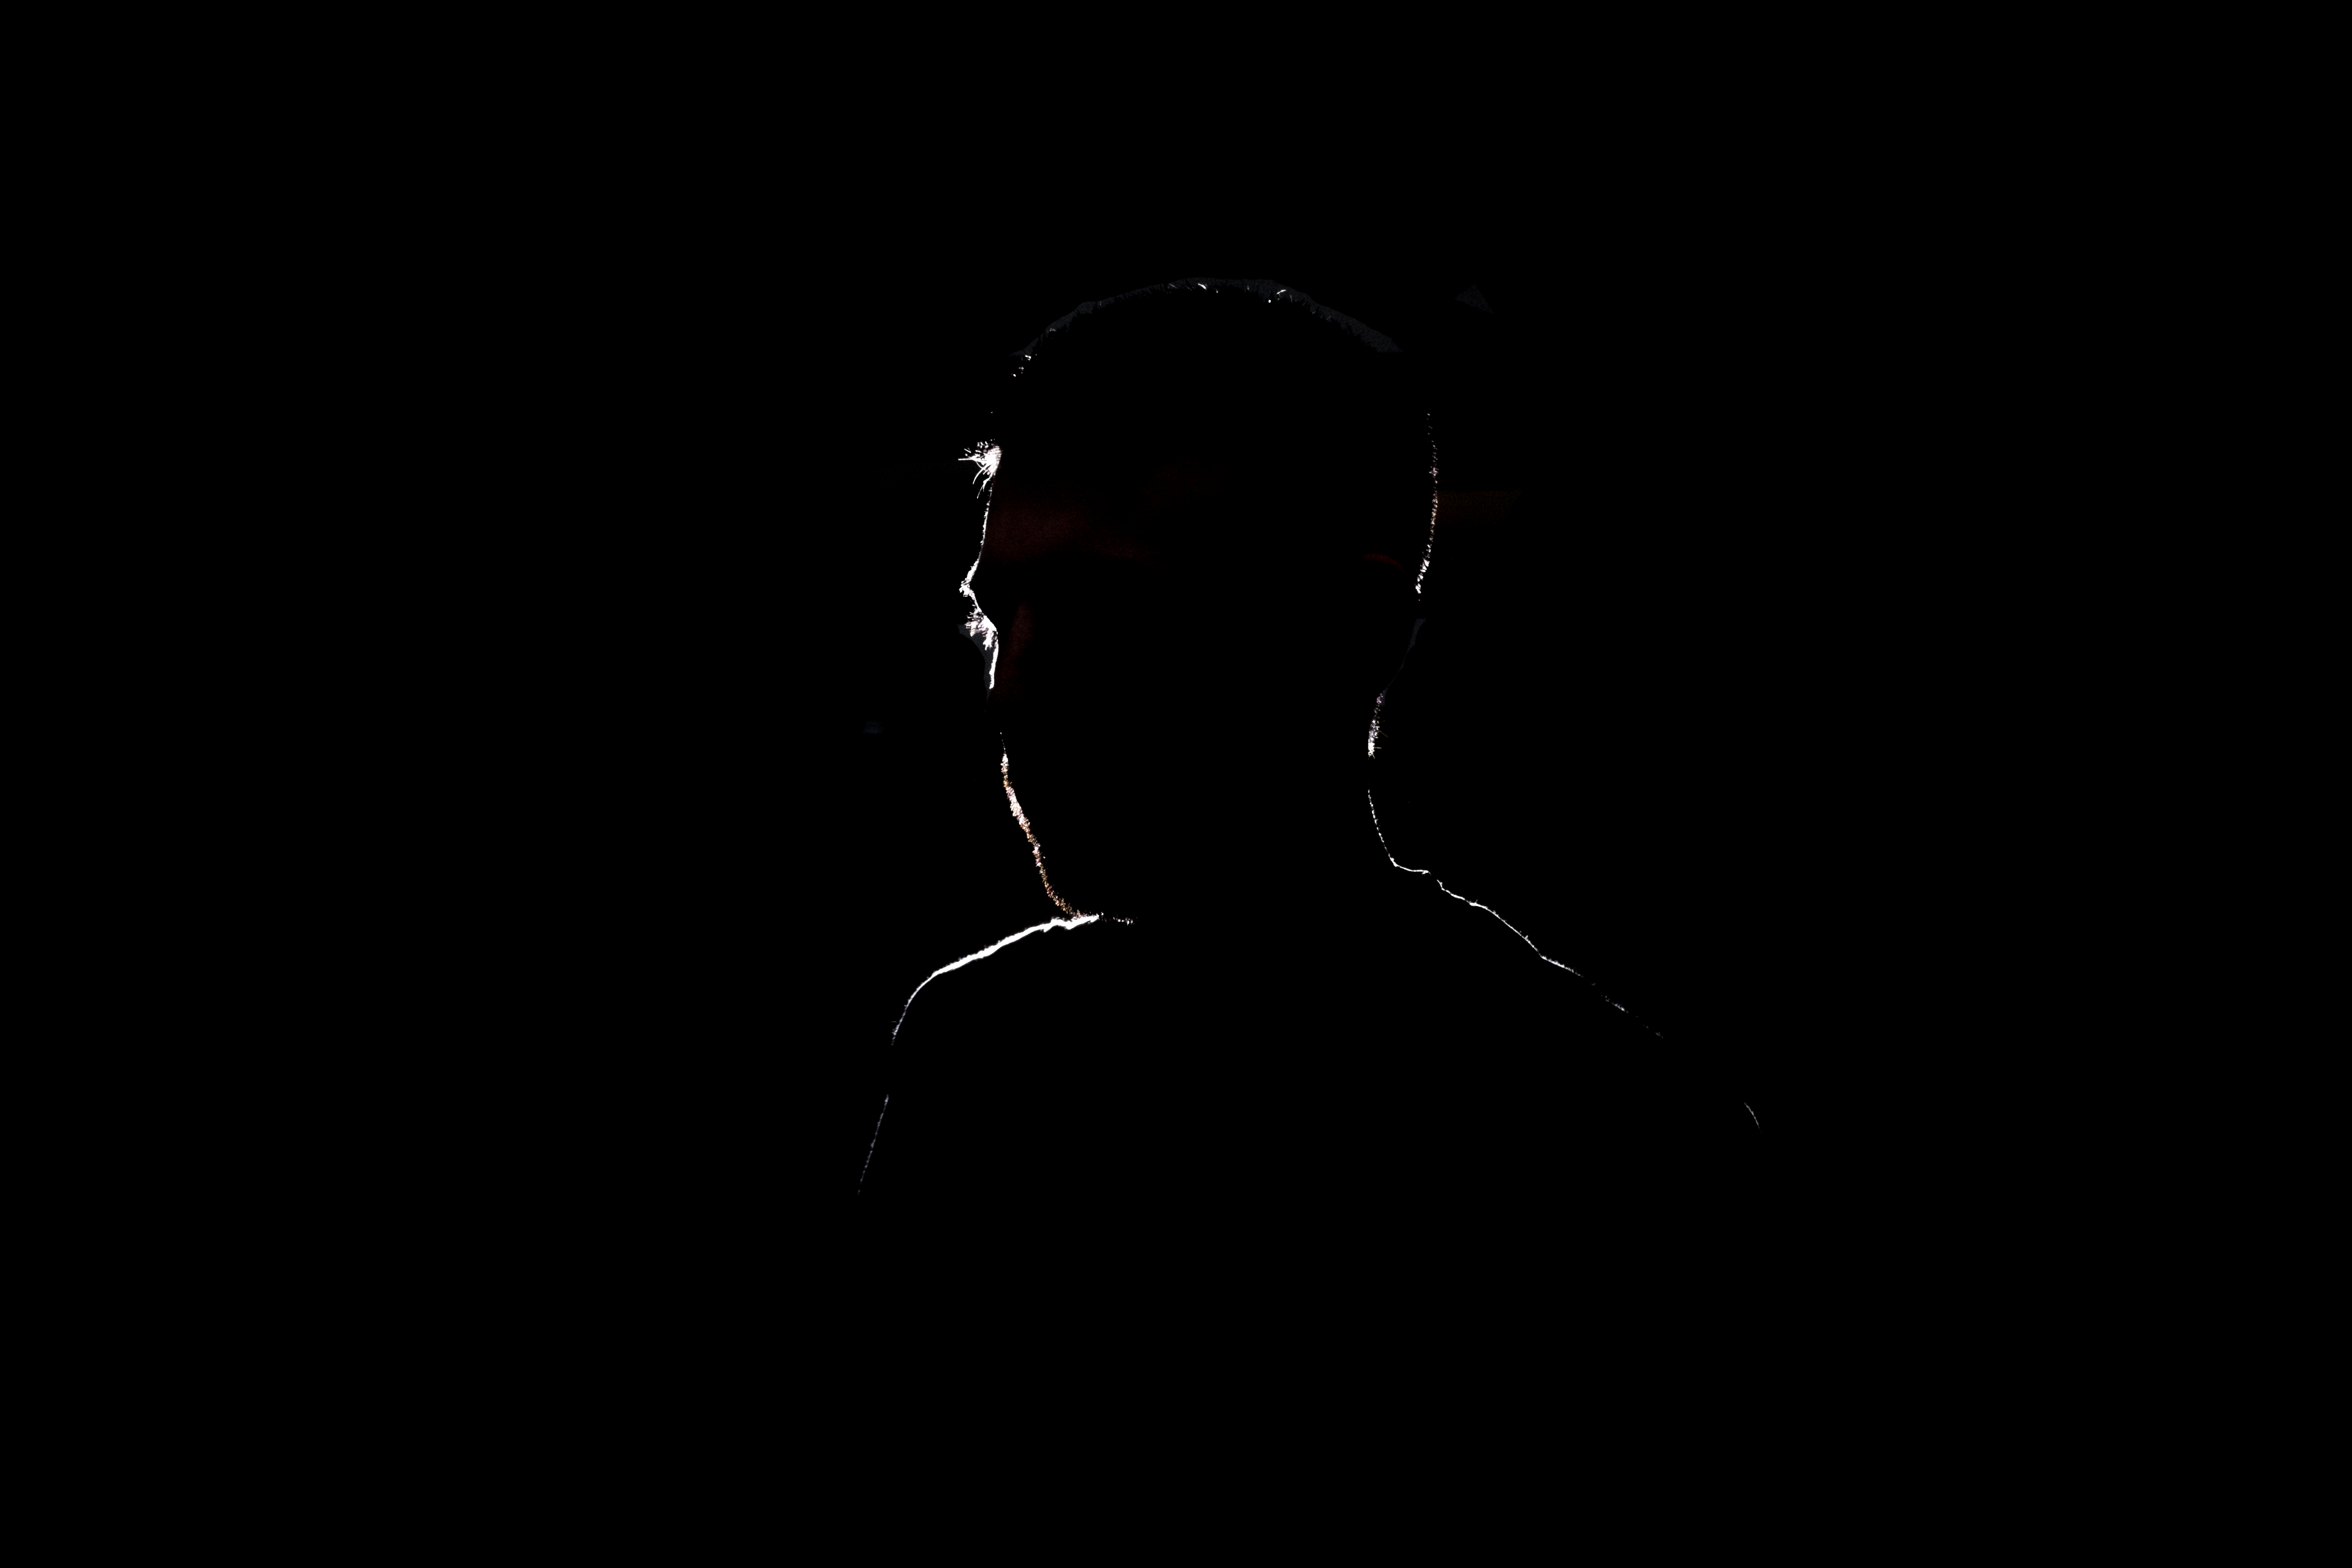
Here is what the final image looks like, which is almost exactly what I had pictured:
Looking back, there are a few things I would have done differently.
I had tried to fashion a snoot out of white printer paper by rolling it up and taping it to the end of the flash. This worked pretty well in directing the light, but it had the adverse effect of acting as a sort of shoot-through snoot, which is not what I wanted. Instead, for a DIY light modifier, I would have used white paper inside of black paper, and would have given it more of a cone shape. This way, the light would spread more, but the black paper would prevent the light from scattering through the paper and affecting the ambient exposure levels.
One flash worked pretty well, but I probably should have used two flashes on a LumoPro LP739 Double Flash Bracket. I probably would also use a softbox, umbrella, or octabox in front of the flashes to spread the light.
I probably would have turned all the lights off if I could have, and also would have waited until it was dark outside. But I was shooting this in the store during work hours, so I didn’t really have that option.
Overall, I’m pretty happy with the results. It’s a cool twist on the normal silhouette photo, and it was fun to try something new.
Instead of paper you want CinqFoil (also sold under other trade names). It’s heavy aluminum foil which is treated to be flat black on both sides. Not cheap – last box I bought was $30 – but as indispensable as gaffer tape. Make snoots, flags, cucus; use as heavy duty twist ties. You probably stock it or should if you don’t.
Try doing this on film with Delta 100 at ISO 50 (because you don’t want mid tones) and more light. A Q-Flash might be sufficient.
These are great tips. One of the MPEX staff had suggested Cinafoil afterwards too. Perhaps there will be a follow-up post in the not-too-distant future . . .