

Over the course of this year’s Midwest Photography Expo, Adam captured some video and stills with a GoPro HD Hero3+ Black. Part of the idea was to make a time-lapse video out of the stills. The problem was: I’d never made a time-lapse before.
Thankfully, the internet exists, and I was able to combine a couple of resources–namely, this article and this video–to use the tools I had at my disposal to cobble together some time-lapse footage. I thought this process would be interesting to share, in case there are those out there who want to make a time-lapse from stills but have no idea how.
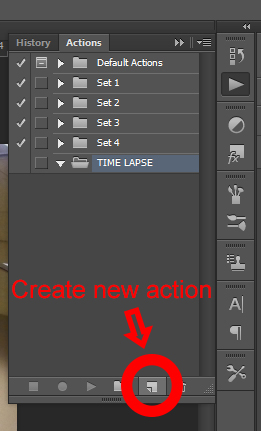
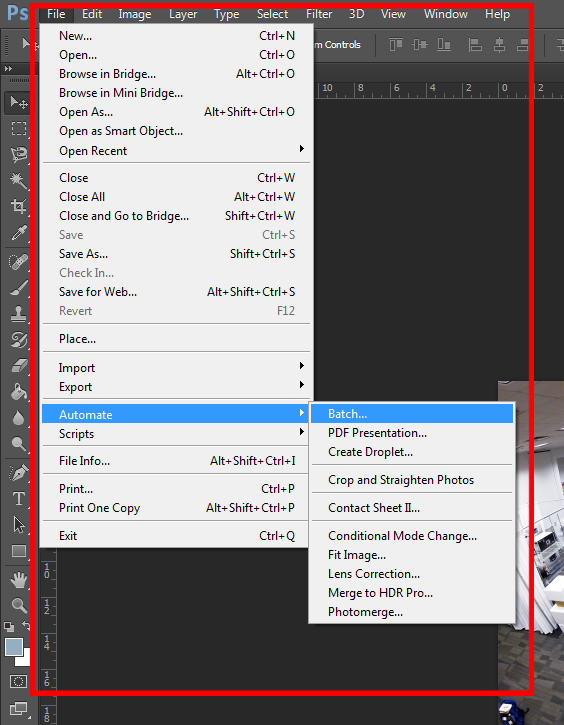
The first step was to make sure all the stills looked consistent. The way I did this was create an action in Adobe Photoshop CS6 and batch the photos. (You can achieve the same effect using presets in Lightroom.)


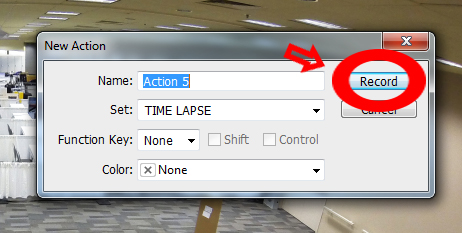
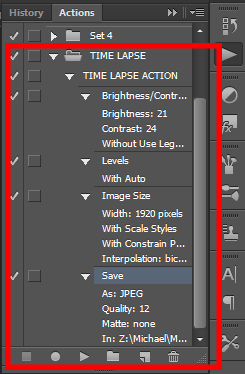
When you create a new Action, you will be prompted to name the Action and then click the Record button. From here on out, every edit you make will be recorded, even including changing the image size and saving. When you’re finished editing, your Action Set should look something like this:

The last steps are the easy part. To create the time-lapse sequence, I used Photoshop Premiere Elements 11. When you open the program, I recommend setting the amount of frames each still photo will count for.

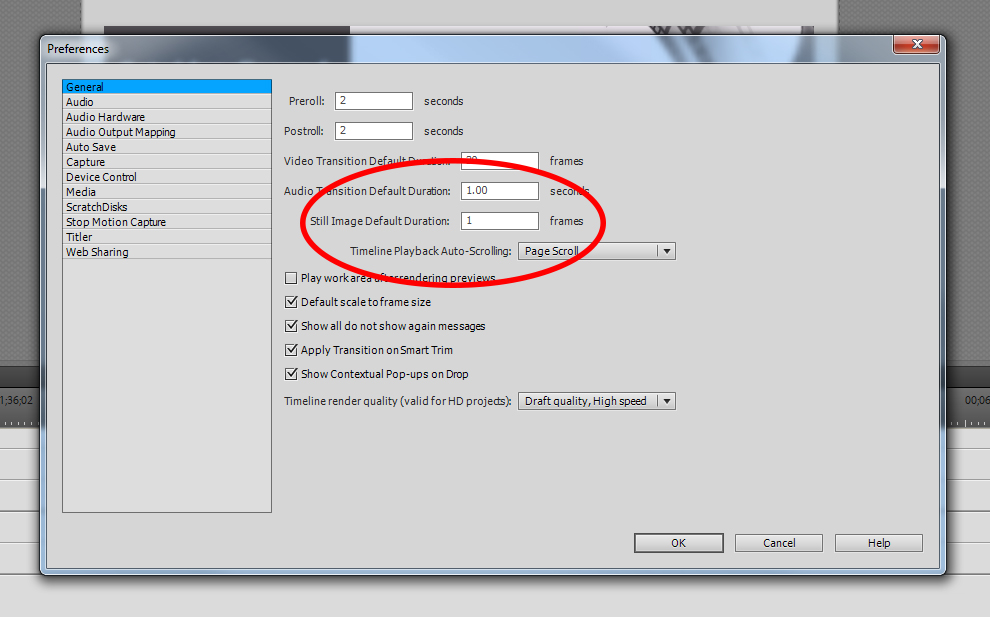
I set my Still Image Default Duration to 1 frame. If you have enough still photos, go with 1 frame. You can make the stills last longer in the video if you don’t have as many and still achieve a cool effect, but I found 1 frame to be exactly what I was looking for.
Finally, just upload your photos by choosing Add Media, then drag the photos onto one of the Video Track. If you saved the photos sequentially, they should already be in the order you want. Render the video, save it as the file type and size you want, and share away!